
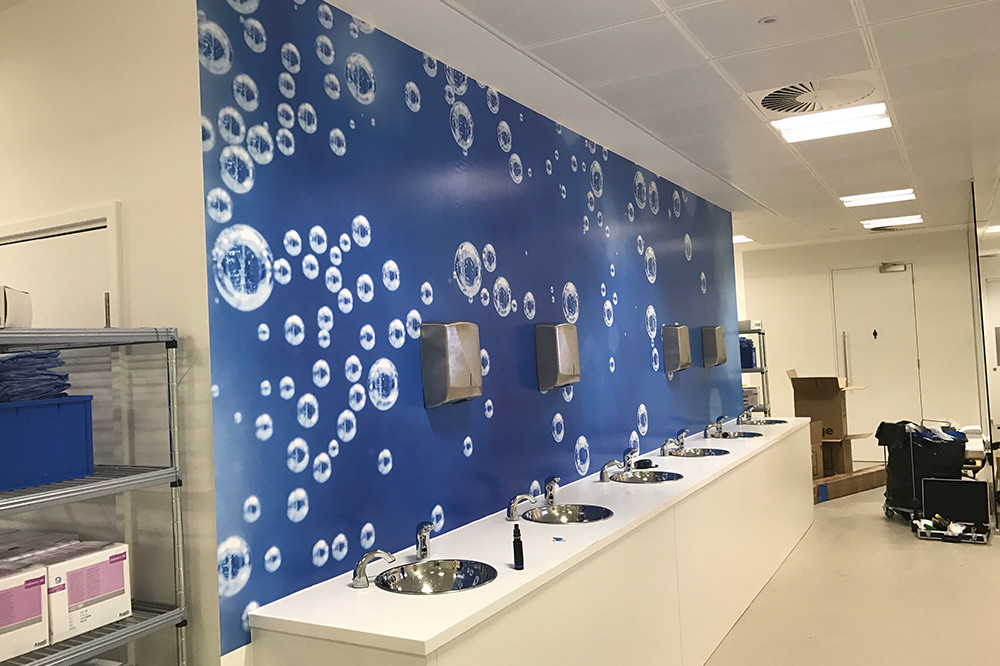
A bubble-free vinyl finish is the hallmark of a professional installation. Those clean, glass-smooth graphics you see on premium shopfronts and retail windows don’t happen by accident — they’re the result of preparation, technique and the right tools. Here’s how the professionals achieve a flawless result.
It starts with surface preparation
Vinyl only bonds well to a clean, dry, dust-free surface. Professionals thoroughly clean and de-grease the area, remove any old adhesive, and let the surface dry completely. Skipping this step is the number one cause of bubbles and premature peeling.
Wet vs dry application
For large flat surfaces like windows, a wet application (using an application fluid) gives the installer time to reposition the vinyl before it bonds, helping push out air. For cut lettering and smaller graphics, a dry application with careful squeegee work is often faster and cleaner. Knowing which to use is part of the craft.
Squeegee technique and heat
Overlapping squeegee strokes from the centre outward push air to the edges. A heat gun helps the vinyl conform to curves and textures, and seals the edges for a durable bond. Any tiny trapped bubbles are released with a pin and smoothed flat.
Why it’s worth hiring a professional
DIY vinyl application often ends in wrinkles, bubbles and wasted material. Professional installers get it right first time, protecting both your graphics budget and your brand image.
Need a flawless finish? UK Install are expert vinyl applicators serving London, Kent, Essex and the UK. Call 0207 112 8863 or request a quote.